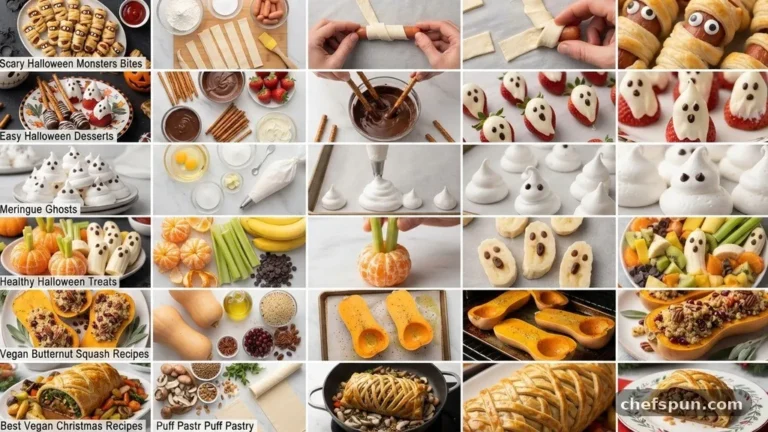
Easy Halloween Desserts
Finding the perfect easy Halloween desserts can turn a standard evening into a festive celebration without requiring hours in the kitchen. Whether you are hosting a party for friends or putting together a surprise for your kids, these simple recipes focus on high-impact visuals with minimal effort. You do not need professional baking skills to create spooky snacks that look like they came from a boutique bakery.
By relying on clever shortcuts and store-bought staples, you can assemble treats that capture the spirit of the holiday while keeping your stress levels low. Grab your apron and prepare to impress your guests with these quick, creative, and delicious seasonal creations.
- Prep time: 15 minutes
- Cook time: 30 minutes
- Total time: 45 minutes
- Servings: 4
- Calories: 420 per serving
Ingredients
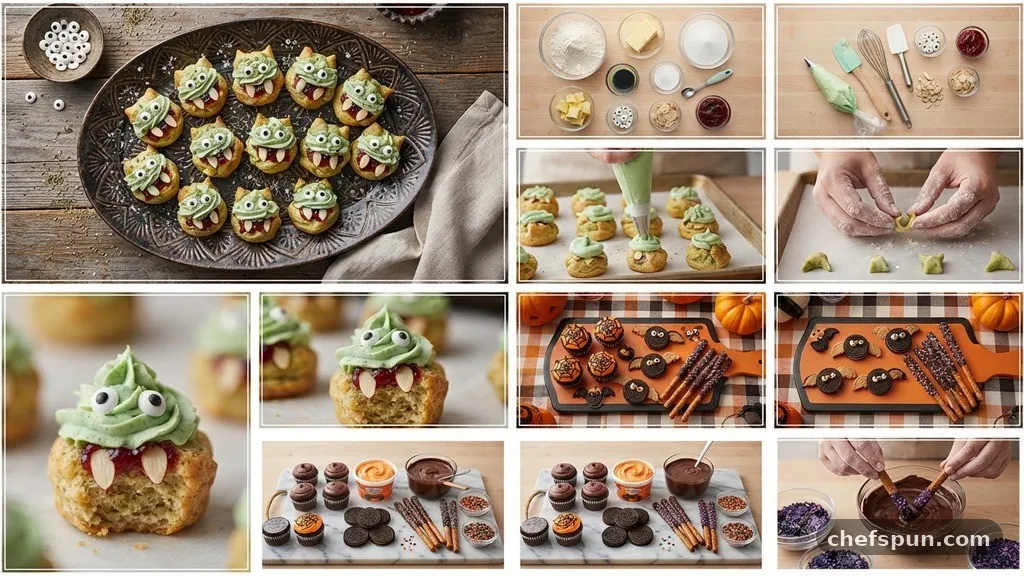
- 1 package (16 oz) refrigerated sugar cookie dough
- 1/2 cup all-purpose flour for dusting
- 1 container (12 oz) store-bought vanilla frosting
- 20 candy eyeballs
- 1/2 cup white candy melts
- 1/4 cup orange sanding sugar
- 12 miniature chocolate peanut butter cups, unwrapped
- 1/4 cup dark chocolate chips, melted for piping
Instructions

- Preheat your oven to 350°F (175°C) and line a large baking sheet with parchment paper to prevent sticking.
- Roll the sugar cookie dough into 20 equal-sized balls, placing them two inches apart on the prepared baking sheet.
- Bake the cookies for 10 to 12 minutes, or until the edges are just barely golden brown.
- Remove from the oven and let them cool on the pan for five minutes before transferring to a wire rack to cool completely.
- While the cookies cool, melt the white candy melts in the microwave in 30-second intervals until smooth.
- Dip half of each cookie into the white chocolate and place them on wax paper to set.
- Apply a small dab of frosting to the back of the candy eyeballs and press them firmly onto the white chocolate portion.
- Use the melted dark chocolate to pipe small spider legs or ghost mouths onto the remaining cookie surface.
- Place a miniature peanut butter cup in the center of a few cookies, using a ring of frosting to secure it like a witch’s hat.
- Sprinkle the orange sugar over any remaining plain frosted areas for an extra pop of color.
The Art of Minimalist Spooky Decorating

Creating eye-catching snacks does not always require complex piping techniques or expensive equipment. The secret to success lies in choosing a focal point, such as a set of candy eyes or a specific color palette.
When you focus on a single theme, like ghosts or spiders, your table looks cohesive and professional. Using store-bought items as a base allows you to spend your energy on the fun, decorative finishing touches rather than the chemistry of baking from scratch.
Many home cooks find that using high-quality pre-made frosting is a massive time-saver. You can easily tint store-bought vanilla frosting with gel food coloring to achieve deep blacks or vibrant oranges without affecting the texture. If you want to learn more about food safety when working with these types of confections, the U.S.
Food and Drug Administration provides excellent resources on handling ingredients safely. Remember that consistency is key; if your frosting feels too thin, just add a teaspoon of powdered sugar until it reaches the desired thickness for piping.
Choosing the Right Cookie Base
The foundation of any great dessert is a reliable cookie recipe, but refrigerated dough remains the ultimate tool for busy hosts. It provides a consistent, buttery flavor that pairs well with almost any topping you choose.
Since the dough is already formulated for the perfect spread, you avoid the common pitfall of cookies that melt into a flat puddle in the oven. This reliability is essential when you are balancing multiple tasks or managing a crowd.
If you prefer a homemade touch, you can always use a simple butter cookie recipe. The goal is to keep the flavor profile relatively neutral so the decorations can shine.
Whether you choose to use chocolate or vanilla, ensure your dough is chilled thoroughly before baking. Chilled dough holds its shape better, which is crucial if you are cutting the cookies into specific holiday shapes like pumpkins or stars.
Incorporating Candy and Textures
Adding texture to your treats is what separates a good dessert from a great one. Think about the crunch of sanding sugar contrasted with the smooth, creamy bite of a peanut butter cup.
You can create a “graveyard” effect by crumbling chocolate cookies over a layer of frosting, which provides a lovely earthy contrast to the sweetness. The variation in mouthfeel keeps guests coming back for more, as it prevents the dessert from feeling one-dimensional.
Don’t be afraid to mix and match your candy components. Candy corn, while divisive in its raw form, works beautifully as a decorative element when placed on top of a chocolate-frosted cupcake or cookie.
You can also use mini marshmallows to create ghost shapes, which adds a chewy element that kids absolutely love. Keep your pantry stocked with these small, inexpensive items so you are always ready to whip up a festive platter on short notice.

Managing Time for Big Groups
When you are preparing these desserts for a large gathering, organization is your best friend. Start by baking your cookie bases a day or two in advance and storing them in an airtight container.
This allows you to dedicate the entire day of the event to the assembly and decoration process. You will find that decorating goes much faster when you treat it like an assembly line; finish all the dipping first, then all the eyes, then the final piping.
If you are working with kids, invite them into the kitchen to help with the assembly. Giving them the job of applying the candy eyeballs or sprinkling the orange sugar keeps them occupied and makes the process a shared family activity.
Even if the results aren’t perfect, the memories made during the preparation are often the best part of the holiday. Keep a few extra supplies on hand in case of accidents, but try to embrace the slightly messy, rustic look that defines homemade fun.
Storage and Freshness
Proper storage is essential to keep your creations looking and tasting their best. Most sugar-based desserts can be stored at room temperature for up to three days if kept in a cool, dry place.
Avoid placing frosted items in the refrigerator if possible, as the moisture can cause the candy eyes to bleed or the frosting to lose its sheen. If you must refrigerate them, place them in a single layer in a sealed container to prevent odor absorption.
If you have leftovers, consider freezing the un-decorated cookie bases. They thaw quickly and can be dressed up whenever you have a sudden craving or unexpected visitors.
Label your containers clearly with the date to ensure you are always serving the freshest items. By planning your storage carefully, you can enjoy your seasonal treats well beyond the actual day of the holiday.
Frequently Asked Questions
Can I use a different type of cookie dough?
Absolutely, you can use any sturdy cookie dough like shortbread or even a boxed mix. The key is ensuring the cookie doesn’t spread too much during baking so it can support the weight of your frosting and candies.
How do I keep the candy eyeballs from falling off?
The best way to secure them is to apply them while the frosting or chocolate is still slightly tacky. If the base has already hardened, use a tiny dot of fresh frosting as glue to hold them in place.
Is it possible to make these treats gluten-free?
You can easily substitute the standard dough for a high-quality gluten-free flour blend or a certified gluten-free refrigerated dough. Just be sure to check that your candy decorations and frosting are also labeled as gluten-free, as some contain wheat-based stabilizers.
What is the best way to melt chocolate for decorating?
Use a microwave-safe bowl and heat the chocolate in 30-second increments, stirring thoroughly between each interval. This prevents the chocolate from seizing or burning, which can happen very quickly if you overheat it.
How far in advance can I decorate these?
For the best results, decorate your treats no more than 24 hours before you plan to serve them. This ensures the cookies stay crisp and the candy toppings remain vibrant and fresh-looking.
Final Thoughts
Creating easy Halloween desserts is a rewarding way to bring a little extra magic into your home during the autumn season. By focusing on simple techniques and high-quality ingredients, you can produce a wide variety of fun and spooky treats that delight both children and adults. Remember that the goal is enjoyment and creativity, so don’t stress if your ghosts look a little wonky or your spiders have uneven legs.
The charm of homemade sweets lies in their unique, hand-crafted appearance. We hope these tips and recipes help you feel confident in your kitchen this October. Whether you are baking for a small family gathering or a large party, have a wonderful time crafting your own delicious celebration.
Easy Halloween Desserts
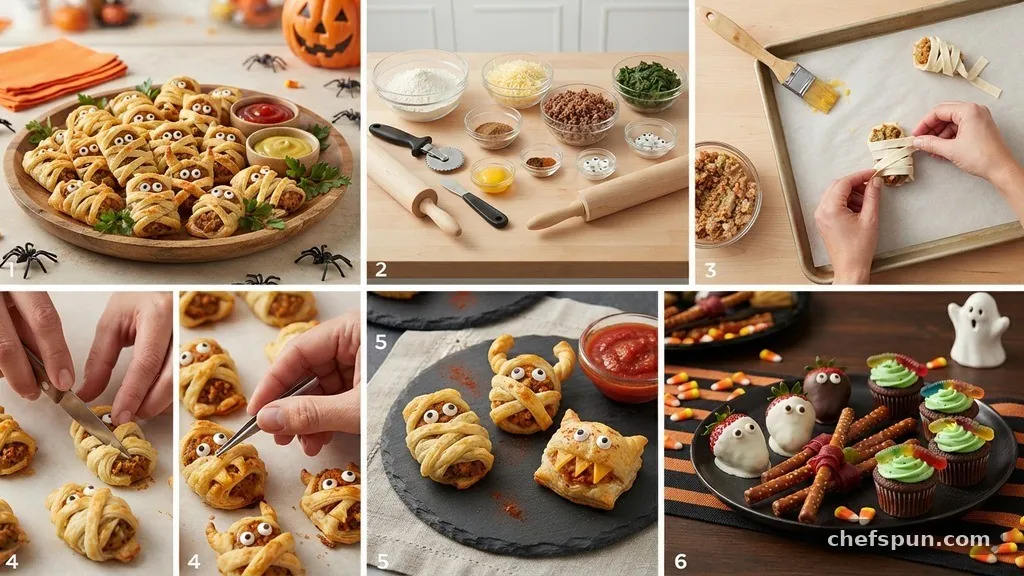
Finding the perfect easy Halloween desserts can turn a standard evening into a festive celebration without requiring hours in the kitchen.
Ingredients
- 1 package (16 oz) refrigerated sugar cookie dough
- 1/2 cup all-purpose flour for dusting
- 1 container (12 oz) store-bought vanilla frosting
- 20 candy eyeballs
- 1/2 cup white candy melts
- 1/4 cup orange sanding sugar
- 12 miniature chocolate peanut butter cups, unwrapped
- 1/4 cup dark chocolate chips, melted for piping
Instructions
- Preheat your oven to 350°F (175°C) and line a large baking sheet with parchment paper to prevent sticking.
- Roll the sugar cookie dough into 20 equal-sized balls, placing them two inches apart on the prepared baking sheet.
- Bake the cookies for 10 to 12 minutes, or until the edges are just barely golden brown.
- Remove from the oven and let them cool on the pan for five minutes before transferring to a wire rack to cool completely.
- While the cookies cool, melt the white candy melts in the microwave in 30-second intervals until smooth.
- Dip half of each cookie into the white chocolate and place them on wax paper to set.
- Apply a small dab of frosting to the back of the candy eyeballs and press them firmly onto the white chocolate portion.
- Use the melted dark chocolate to pipe small spider legs or ghost mouths onto the remaining cookie surface.
- Place a miniature peanut butter cup in the center of a few cookies, using a ring of frosting to secure it like a witch’s hat.
- Sprinkle the orange sugar over any remaining plain frosted areas for an extra pop of color.
Similar Posts
Mothers Day Brunch Ideas
Planning the perfect morning meal requires a balance of elegance and ease. Choosing the right Mothers Day Brunch Ideas ensures you spend more time celebrating and less time stuck in the kitchen. Whether you are hosting a small family gathering or a larger group, selecting dishes that offer both flavor and visual appeal is key….
Almond Thumbprint Cookies
Baking a batch of Almond Thumbprint Cookies provides a wonderful sensory experience that fills your home with the warm, nutty aroma of toasted nuts and sweet fruit. These treats balance a buttery, tender base with the bright intensity of preserves, making them a sophisticated yet approachable dessert. Whether you are prepping for a holiday cookie…
Healthy Halloween Treats
Preparing healthy Halloween treats allows you to celebrate the spooky season without the typical post-sugar crash. By focusing on whole foods like fresh fruit, nuts, and natural sweeteners, you can create snacks that look festive while fueling the body properly. Whether you are hosting a party for little ones or looking for a wholesome snack…
Healthy Halloween Treats
Finding ways to celebrate the season without relying on processed sugars can transform your holiday experience. Healthy Halloween treats offer a wonderful opportunity to involve the whole family in the kitchen while keeping energy levels stable and spirits high. By focusing on whole foods and creative presentation, you can whip up snacks that are just…
Black Bean Brownie
A black bean brownie serves as a clever bridge between indulgent dessert and fiber-rich nutrition. You might wonder if legumes have a place in a chocolate treat, but the results are surprisingly fudgy and rich. By replacing traditional flour with pureed beans, you create a dense, moist texture that satisfies any chocolate craving without the…
Vegan Christmas Cookies
Making a batch of homemade treats during the holidays brings a unique warmth to any kitchen. These plant-based delights capture the classic spirit of the season without requiring dairy or eggs. You will find that these recipes offer the same rich, buttery textures and festive flavors that define traditional holiday baking. Whether you are hosting…