Easy Halloween Desserts
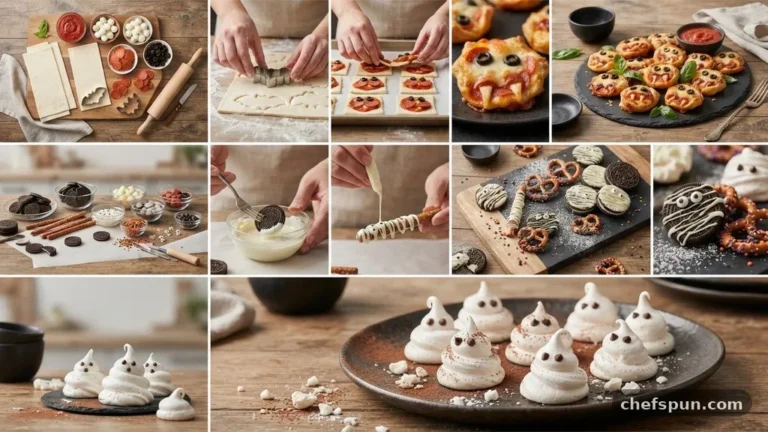
Finding simple ways to celebrate the season doesn’t mean you need to spend hours in the kitchen. Preparing easy Halloween desserts allows you to focus on the festive atmosphere while still serving something delicious that guests of all ages will appreciate. Whether you are aiming for spooky or sweet, these recipes provide a stress-free path to holiday success.
- Prep time: 15 minutes
- Cook time: 30 minutes
- Total time: 45 minutes
- Servings: 4
- Calories: 420 per serving
Ingredients
- 1 package (16 ounces) refrigerated sugar cookie dough
- 1/2 cup all-purpose flour, plus extra for dusting
- 1 container (16 ounces) store-bought white vanilla frosting
- 1 package (2 ounces) assorted candy eyeballs
- 1/2 cup orange-colored candy melts
- 1/4 cup black decorating gel
- 1/4 cup candy corn for garnish
Instructions
- Preheat your oven to 350 degrees Fahrenheit and line a large baking sheet with parchment paper to prevent sticking.
- Mix the refrigerated cookie dough with the additional flour in a large bowl to ensure the dough holds its shape during baking.
- Scoop rounded tablespoons of dough onto the prepared baking sheet, spacing them about two inches apart to allow for spreading.
- Bake the cookies for 12 to 14 minutes, or until the edges are lightly golden brown but the centers remain soft.
- Remove the tray from the oven and let the cookies cool completely on a wire rack before you begin any decorating.
- Melt the orange candy melts in a microwave-safe bowl using 30-second intervals, stirring between each, until the consistency is smooth.
- Drizzle the melted orange coating over half of each cookie using a spoon or a small piping bag for precision.
- Apply the candy eyeballs to the frosted portions while the coating is still tacky so they adhere firmly to the surface.
- Add small details like spider legs or ghost mouths using the black decorating gel once the base frosting has set.
- Finish the presentation by placing a few pieces of candy corn near the base of the cookies for a classic touch.
Tips
- Store these finished treats in an airtight container at room temperature for up to three days to maintain their texture.
- If you find the cookie dough is too sticky to handle, chill it in the refrigerator for 20 minutes before scooping.
- Substitute the white frosting with a cream cheese base if you prefer a slightly tangy flavor profile that cuts through the sugar.
- Always check that your candy eyeballs are fresh, as older ones can become brittle or lose their adhesive quality.
- For a crowd-pleasing variation, press a small peanut butter cup into the center of each cookie immediately after removing it from the oven.
Creative Variations for Spooky Snacks
Transforming standard baked goods into festive creations is the hallmark of simple holiday baking. You can easily adapt a basic cake or cookie recipe by focusing on thematic decorations rather than complex techniques. Using store-bought shortcuts often saves time, allowing you to concentrate on the fun visual elements that make these projects stand out.
Consider using mini cupcakes as a base for your next gathering. Their small size makes them perfect for individual servings, and they require significantly less baking time than a full-sized cake. Top them with a swirl of white frosting to create a ghost-like appearance, using dark chocolate chips for eyes.
If you are looking for more inspiration on food safety and handling, the U.S. Food and Drug Administration provides excellent resources for home bakers.
Always ensure your workspace is clean, especially when working with small components like candy decorations. Small adjustments to your method can lead to professional-looking results without the frustration.
Mastering the Art of No-Bake Treats
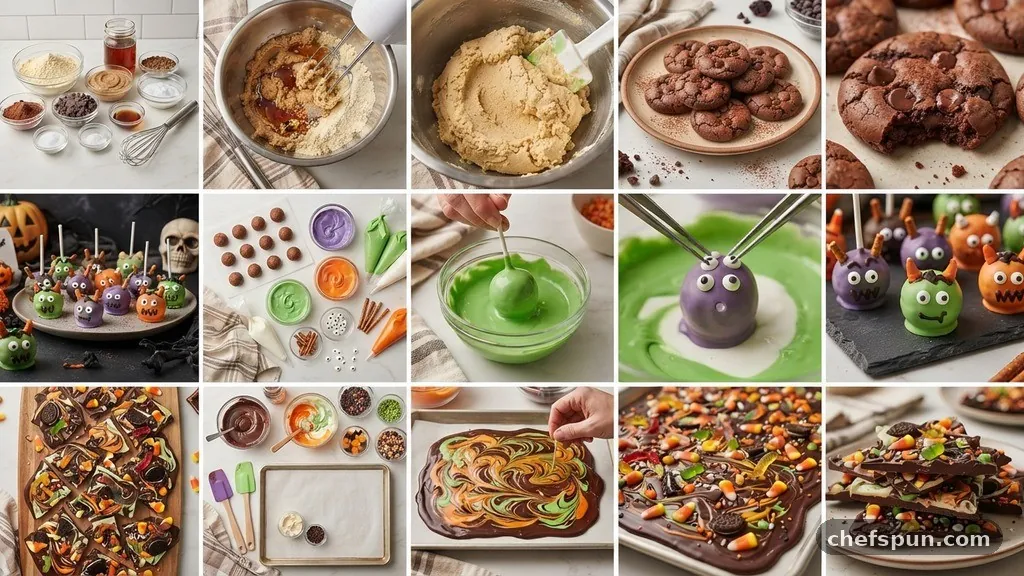
When the oven is full or you simply want to avoid the heat, no-bake options are a lifesaver. These easy Halloween desserts often rely on chilled bases like graham cracker crusts or melted marshmallow mixtures. You can create impressive shapes using simple kitchen tools, such as cookie cutters or even clean plastic molds.
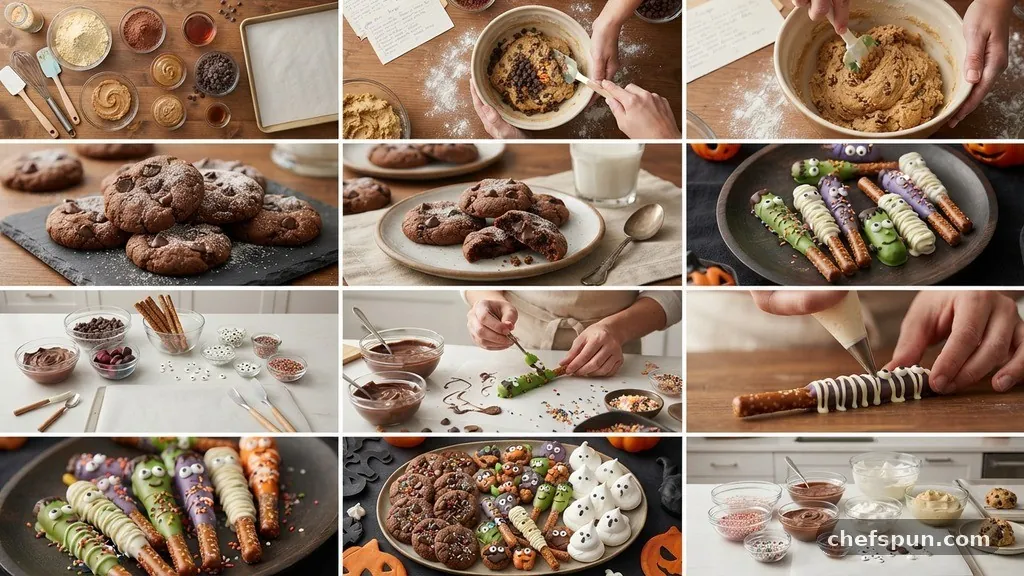
Try creating chocolate-covered pretzel rods that look like miniature brooms or wands. Simply dip the top third of a long pretzel into melted chocolate and roll it in festive sprinkles. These are incredibly popular with kids and take less than ten minutes to assemble once the chocolate is tempered.
Another great strategy involves layering ingredients in clear glasses. Use alternating layers of crushed chocolate cookies and whipped cream to create a “dirt” effect that is perfect for a graveyard theme. Top the mixture with a gummy worm or a small tombstone-shaped cookie to complete the look.
Selecting Quality Ingredients
The secret to great results often lies in the quality of your base ingredients. While it is tempting to pick up the cheapest options, choosing a high-quality butter or premium vanilla extract can change the final flavor profile of your cookies. You will notice a distinct difference when you use real ingredients instead of artificial flavorings.
When working with candy melts, pay close attention to the heating process. Overheating the chocolate will cause it to seize, making it lumpy and difficult to work with during the decorating phase. If the mixture becomes too thick, stir in a tiny amount of vegetable oil to restore its smooth, pourable consistency.
Consider the texture of your final product carefully. A soft, chewy cookie is generally more appealing than a hard one, especially when paired with crunchy candy decorations. Balancing these textures ensures that every bite is satisfying and enjoyable for your guests.
Engaging the Kids in the Kitchen
Involving children in the preparation process turns a simple task into a memorable family activity. Assign them age-appropriate roles, such as placing the candy eyeballs or arranging the candy corn on the finished plates. This allows them to feel a sense of ownership over the final product while you manage the more technical aspects like oven temperatures.
Keep your expectations flexible when working with little ones. The goal is to create fun memories, so don’t worry if the decorations aren’t perfectly symmetrical or precise. The charm of homemade treats often comes from their unique, handmade appearance.
Teach them about the importance of measuring ingredients accurately while you work. This is a subtle way to introduce math and science concepts in a low-pressure environment. By the time the treats are ready, they will be proud to share their creations with friends and family.
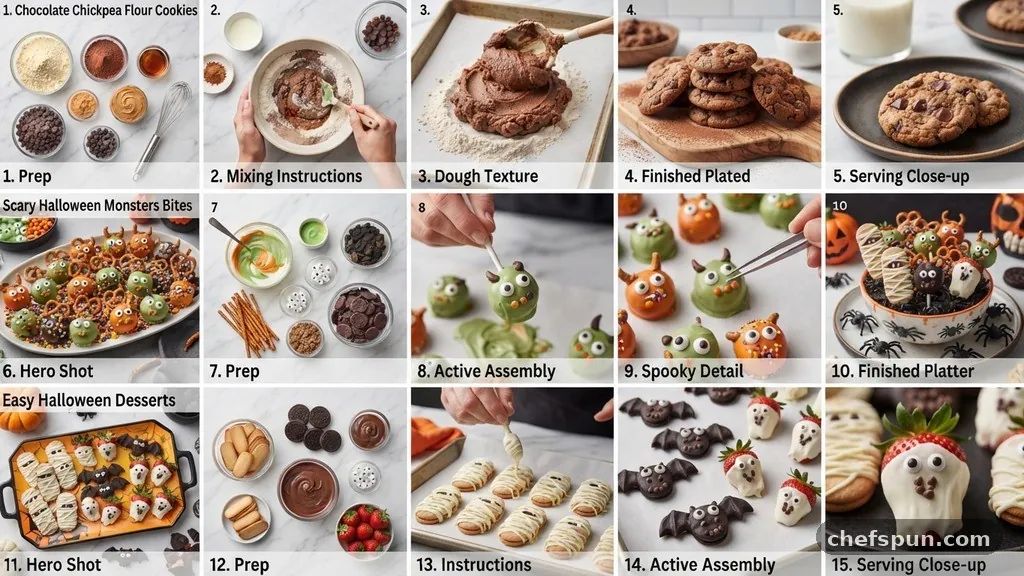
Storage and Presentation Strategies
Properly storing your creations is just as important as the baking process itself. If you are preparing these in advance, keep the decorated cookies in a cool, dry place away from direct sunlight. Moisture is the enemy of crisp cookies and can cause your frosting to lose its shape or run.
When it comes to serving, consider using tiered stands or decorative platters to create a professional display. Grouping your easy Halloween desserts by type or color can make a big impact on a table. Adding a few themed napkins or small decorations around the platter enhances the overall aesthetic.
If you are transporting these treats to a party, pack them in flat containers lined with parchment paper. Avoid stacking them too high, as the delicate decorations can easily break or smear during transit. If you must stack them, place a sheet of wax paper between each layer to ensure they arrive in perfect condition.
Bringing Seasonal Flavors Together
While visual impact is essential for holiday treats, the taste should never be neglected. Incorporate seasonal flavors like pumpkin, cinnamon, or ginger into your recipes to capture the spirit of autumn. These warm spices pair beautifully with chocolate and white frosting, creating a balanced flavor profile that appeals to adults as well as children.
Experiment with different types of chocolate, such as dark or milk, to see which pairs best with your chosen decorations. Sometimes a simple change in the type of chocolate used can completely shift the tone of the dessert. Be bold and try new combinations until you find the ones that your family loves the most.
Creating these festive sweets is an excellent way to celebrate the season with minimal stress. By focusing on simple recipes, quality ingredients, and creative presentation, you can produce professional-looking results that everyone will enjoy. Start with these straightforward steps and feel free to customize them with your own favorite candies or flavorings to make the experience truly yours.
Easy Halloween Desserts
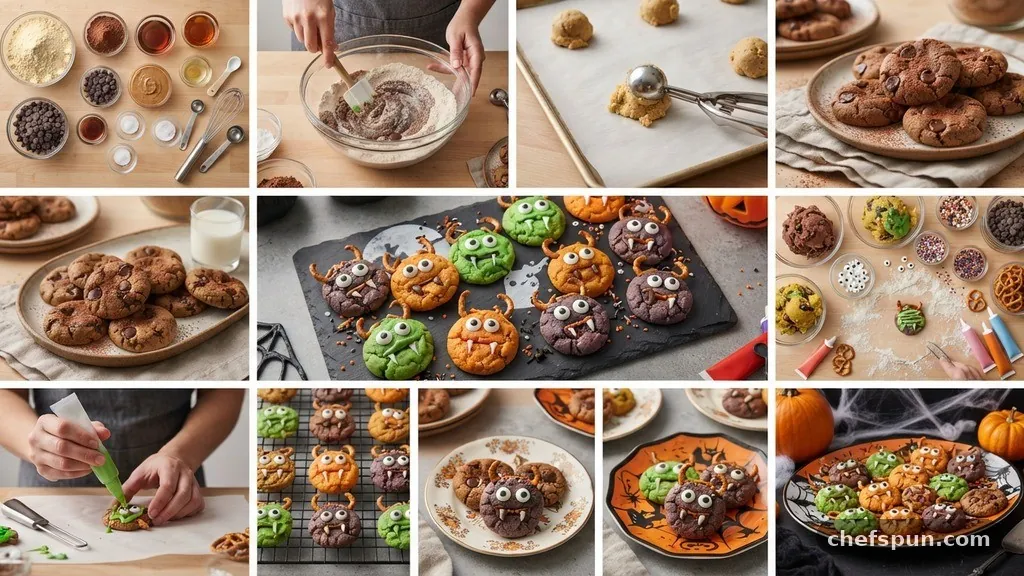
Finding simple ways to celebrate the season doesn’t mean you need to spend hours in the kitchen. Preparing easy Halloween desserts allows you to focus on the festive atmosphere while still serving something delicious that guests of all ages will appreciate.
Ingredients
- 1 package (16 ounces) refrigerated sugar cookie dough
- 1/2 cup all-purpose flour, plus extra for dusting
- 1 container (16 ounces) store-bought white vanilla frosting
- 1 package (2 ounces) assorted candy eyeballs
- 1/2 cup orange-colored candy melts
- 1/4 cup black decorating gel
- 1/4 cup candy corn for garnish
Instructions
- Preheat your oven to 350 degrees Fahrenheit and line a large baking sheet with parchment paper to prevent sticking.
- Mix the refrigerated cookie dough with the additional flour in a large bowl to ensure the dough holds its shape during baking.
- Scoop rounded tablespoons of dough onto the prepared baking sheet, spacing them about two inches apart to allow for spreading.
- Bake the cookies for 12 to 14 minutes, or until the edges are lightly golden brown but the centers remain soft.
- Remove the tray from the oven and let the cookies cool completely on a wire rack before you begin any decorating.
- Melt the orange candy melts in a microwave-safe bowl using 30-second intervals, stirring between each, until the consistency is smooth.
- Drizzle the melted orange coating over half of each cookie using a spoon or a small piping bag for precision.
- Apply the candy eyeballs to the frosted portions while the coating is still tacky so they adhere firmly to the surface.
- Add small details like spider legs or ghost mouths using the black decorating gel once the base frosting has set.
- Finish the presentation by placing a few pieces of candy corn near the base of the cookies for a classic touch.
Similar Posts
Almond Thumbprint Cookies
Baking a batch of Almond Thumbprint Cookies provides a wonderful sensory experience that fills your home with the warm, nutty aroma of toasted nuts and sweet fruit. These treats balance a buttery, tender base with the bright intensity of preserves, making them a sophisticated yet approachable dessert. Whether you are prepping for a holiday cookie…
Healthy Christmas Cookies
Making healthy Christmas cookies allows you to enjoy the festive season without sacrificing your nutritional goals. By swapping refined sugars for natural sweeteners and choosing nutrient-dense flours, you can create treats that satisfy your sweet tooth while keeping blood sugar levels more stable. These mindful adjustments ensure that every bite remains delicious, festive, and satisfying…
Chocolate Chickpea Flour Cookies
Baking with legumes might sound unusual, but chocolate chickpea flour cookies offer a surprisingly rich, fudgy texture that rivals traditional flour-based treats. By using chickpea flour as a base, you gain a protein-packed snack that is naturally gluten-free and incredibly satisfying. These cookies balance an earthy base with the decadence of dark cocoa, making them…
Meringue Ghosts
Creating delightful Meringue Ghosts is a fantastic way to bring some seasonal charm into your kitchen. These light, airy treats are essentially crisp, sweetened egg white clouds that melt in your mouth, making them a popular choice for festive gatherings. By whipping simple staples into a stable foam, you can pipe adorable shapes that look…
Black Bean Brownie
A black bean brownie serves as a clever bridge between indulgent dessert and fiber-rich nutrition. You might wonder if legumes have a place in a chocolate treat, but the results are surprisingly fudgy and rich. By replacing traditional flour with pureed beans, you create a dense, moist texture that satisfies any chocolate craving without the…
Best Vegan Christmas Recipes
Finding the best Vegan Christmas Recipes that satisfy both plant-based eaters and traditionalists can transform your holiday table. Whether you are planning a full plant-based feast or just looking for a standout main dish, these selections focus on deep flavors, festive colors, and satisfying textures. You will find that these dishes hold their own against…