Meringue Ghosts
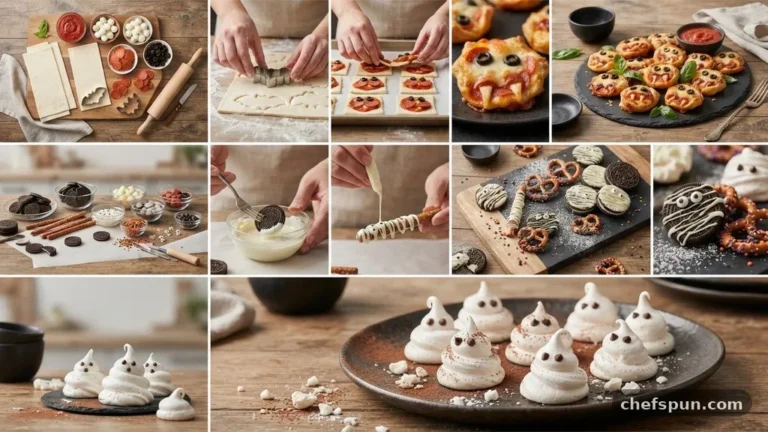
Creating light, airy, and whimsical meringue ghosts is a perfect way to celebrate the spooky season with a sweet treat that feels both sophisticated and fun. These delicate cookies melt in your mouth, offering a crisp exterior that gives way to a cloud-like interior. Whether you are hosting a themed party or simply looking for a creative baking project, these treats are sure to be a hit.
- Prep time: 15 minutes
- Cook time: 30 minutes
- Total time: 45 minutes
- Servings: 4
- Calories: 420 per serving
Ingredients
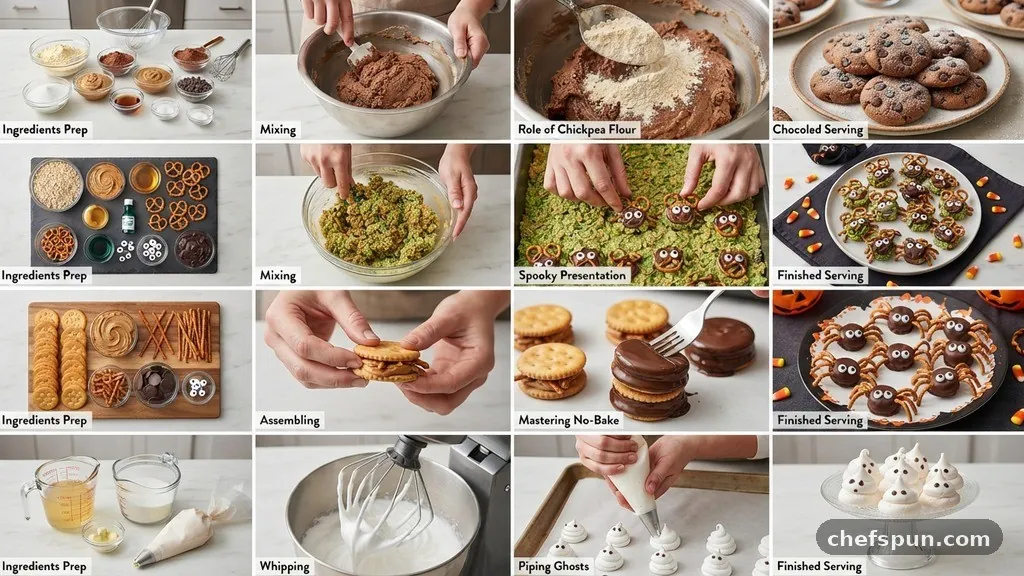
- 4 large egg whites, brought to room temperature
- 1/2 tsp cream of tartar
- 1 tsp vanilla extract
- 1 cup superfine granulated sugar
- 1/4 cup mini chocolate chips or candy eyes for decoration
Instructions
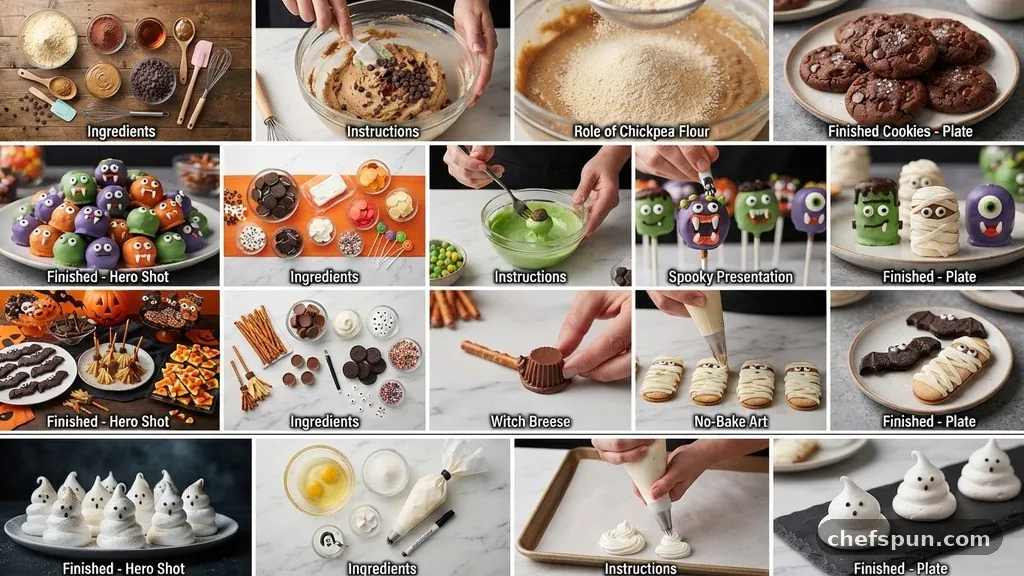
- Preheat your oven to 225°F (107°C) and line a large baking sheet with parchment paper to prevent sticking.
- In a clean, grease-free glass or metal bowl, beat the egg whites with an electric mixer on medium speed until they become foamy.
- Add the cream of tartar to the mixture and continue to beat until soft peaks begin to form.
- Gradually add sugar, one tablespoon at a time, while continuing to beat the mixture on high speed.
- Incorporate the vanilla extract and continue beating the mixture until stiff, glossy peaks form that hold their shape when you lift the beaters.
- Transfer the meringue into a piping bag fitted with a large round tip.
- Pipe small, ghost-shaped mounds onto the prepared baking sheet, pulling up slightly at the end to create a tail or point.
- Bake the meringues in the preheated oven for about 60 to 90 minutes, or until they are dry to the touch and easily lift off the parchment paper.
- Turn off the oven and leave the door slightly ajar, allowing the cookies to cool completely inside for at least an hour.
- Once cooled, use a toothpick to dab a tiny bit of melted chocolate onto the ghosts to attach the candy eyes or chocolate chips.
The Science of Stiff Peaks
The secret to perfect meringue ghosts lies in the protein structure of the egg whites. When you beat the whites, you are uncurling the proteins and trapping air bubbles within them. This creates a stable foam that serves as the foundation for your cookies.
Using an acidic ingredient like cream of tartar is essential because it stabilizes these protein bonds. Without it, the foam can collapse prematurely, leading to flat or weeping cookies. You can learn more about the science of egg proteins to understand how different temperatures and additives change the final texture of your desserts.
Always ensure your bowl is completely clean and free of any fat or oil. Even a tiny trace of yolk or grease will prevent the whites from aerating properly. If you are struggling to reach stiff peaks, check your bowl for residue before you start mixing again.
Choosing the Right Sugar
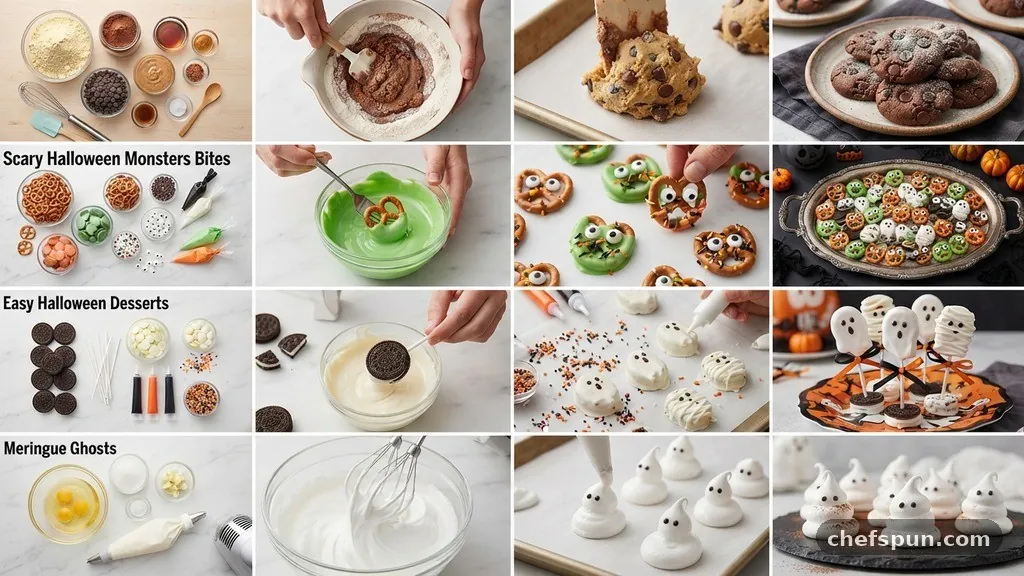
Superfine sugar is the gold standard for this recipe because it dissolves much faster than standard granulated sugar. If you only have regular sugar on hand, you can pulse it in a food processor for a few seconds to achieve a finer consistency.
Adding the sugar slowly is a non-negotiable step in the process. If you dump it all in at once, the weight of the sugar will deflate the air you have worked so hard to incorporate. Patience during the mixing phase ensures the final product is light and airy rather than dense or gritty.
The sugar also plays a structural role by binding with the water in the egg whites. This combination creates a syrup-like consistency that hardens as it bakes. This process is what gives the finished treats their characteristic crisp, glass-like snap.
Mastering the Piping Technique
Piping your ghosts requires a steady hand and a bit of practice to get the desired shape. Use a piping bag with a large round tip to create a base that is wider than the top. As you squeeze, pull the bag upward and away from the baking sheet to create the signature rounded head and tapered body.
If you do not have a piping bag, a heavy-duty freezer bag with the corner snipped off works just as well. Simply fill the bag, twist the top to create pressure, and pipe directly onto the parchment paper. Consistency in size helps ensure that all your ghosts bake evenly at the same rate.
Don’t worry if your first few attempts look slightly uneven or abstract. Part of the charm of handmade ghost cookies is that each one has its own unique personality. Embrace the imperfections, as they often make the final display look more authentic and spirited.
Baking and Drying Protocols
Baking meringue is a slow process that is more about drying the cookies than actually cooking them. Keep the oven temperature low to prevent the sugar from caramelizing or turning brown. You want your ghosts to remain a pristine, stark white color throughout the entire duration.
Once the baking time is up, the cooling process is just as important as the heat. Leaving the tray in the oven with the door cracked allows the moisture to escape gradually. If you pull them out into a humid kitchen too quickly, they may soften or become sticky.
Humidity is the greatest enemy of any meringue-based dessert. If it is a rainy or damp day, your cookies might take longer to dry out or fail to crisp up entirely. In such cases, extending the drying time in the turned-off oven is the most effective way to save the batch.
Decorating for Maximum Impact
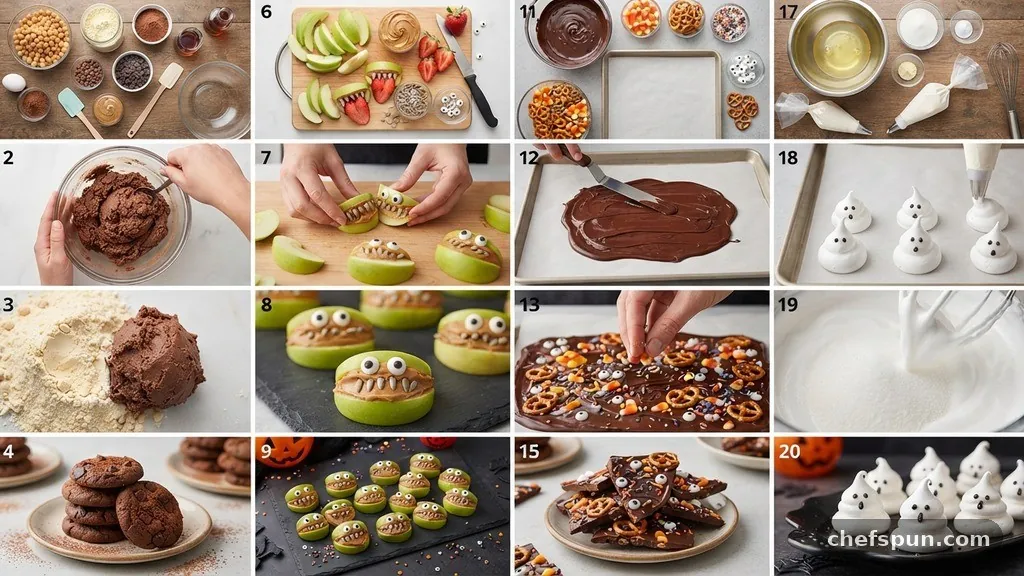
Once your meringue ghosts are fully cooled and dry, the fun part begins. You can use mini chocolate chips for simple, classic eyes, or opt for candy eyes for a more expressive look. If you prefer, you can even melt a small amount of dark chocolate and use a fine-tipped brush to paint on unique faces.
If you are using chocolate chips, a tiny dot of melted chocolate acts as the perfect glue. Simply place a dot where you want the eyes to be and press the chip into the surface. Let the chocolate set for a few minutes before moving the cookies to a serving platter.
For a more advanced presentation, try adding different facial expressions to your ghosts. A surprised mouth or a winking eye adds a layer of whimsy to the final plate. These small details transform a simple batch of cookies into a centerpiece that guests will talk about all night.
Storage and Preservation
Meringue is highly sensitive to moisture, so proper storage is vital for keeping them crisp. Keep your finished cookies in an airtight container at room temperature away from any heat sources. Never store them in the refrigerator, as the high humidity will ruin their texture within hours.
If you find that your ghosts have lost their crunch after a day or two, you can revive them by placing them back into a low-temperature oven. Bake them at 200°F for about 10 to 15 minutes to draw out excess moisture. Let them cool completely before serving them again to ensure they regain that satisfying snap.
When packing these for gifts or transport, use a sturdy box lined with parchment paper. Because they are fragile, they can easily crack if jostled around. Taking a little extra care with how you store and move them ensures your hard work remains intact until the moment they are eaten.
Conclusion
Mastering the art of making meringue ghosts is a rewarding experience that combines basic chemistry with creative flair. By focusing on the quality of your egg whites and practicing patience during the drying phase, you can produce professional-quality confections right in your own kitchen. These light, sweet treats provide a wonderful contrast to heavier desserts and are always a highlight of any seasonal gathering.
Remember that the key to success lies in the details, from the cleanliness of your bowl to the slow, steady addition of sugar. Feel free to experiment with different sizes or even flavored extracts to customize the recipe to your liking. Once you have perfected these, you will have a reliable, crowd-pleasing dessert that is perfect for any occasion that calls for a touch of spectral fun.
Meringue Ghosts
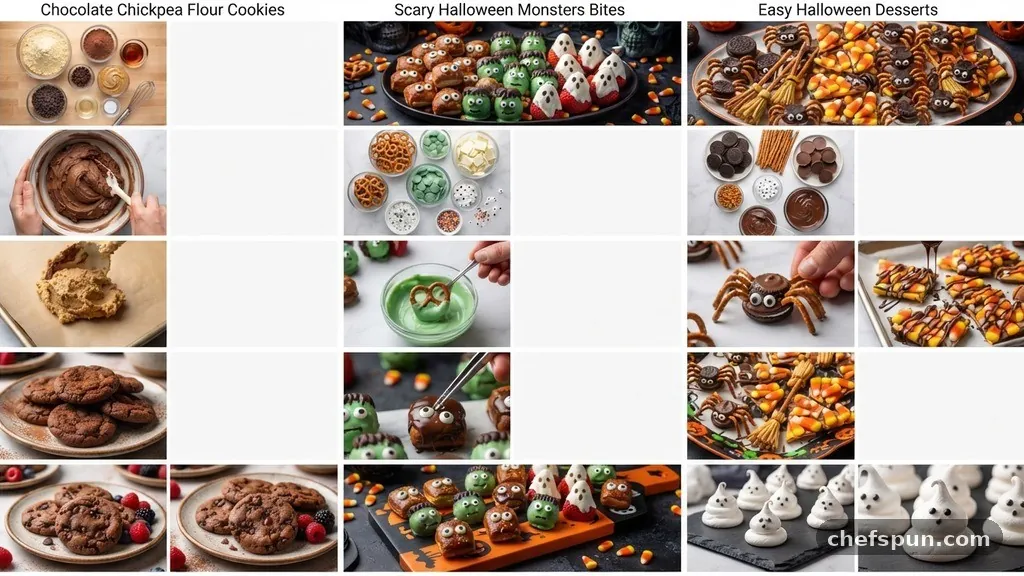
Creating light, airy, and whimsical meringue ghosts is a perfect way to celebrate the spooky season with a sweet treat that feels both sophisticated and fun. These delicate cookies melt in your mouth, offering a crisp exterior that gives way to a cloud-like interior.
Ingredients
- 4 large egg whites , brought to room temperature
- 1/2 tsp cream of tartar
- 1 tsp vanilla extract
- 1 cup superfine granulated sugar
- 1/4 cup mini chocolate chips or candy eyes for decoration
Instructions
- Preheat your oven to 225°F (107°C) and line a large baking sheet with parchment paper to prevent sticking.
- In a clean, grease-free glass or metal bowl, beat the egg whites with an electric mixer on medium speed until they become foamy.
- Add the cream of tartar to the mixture and continue to beat until soft peaks begin to form.
- Gradually add sugar , one tablespoon at a time, while continuing to beat the mixture on high speed.
- Incorporate the vanilla extract and continue beating the mixture until stiff, glossy peaks form that hold their shape when you lift the beaters.
- Transfer the meringue into a piping bag fitted with a large round tip.
- Pipe small, ghost -shaped mounds onto the prepared baking sheet, pulling up slightly at the end to create a tail or point.
- Bake the meringues in the preheated oven for about 60 to 90 minutes, or until they are dry to the touch and easily lift off the parchment paper.
- Turn off the oven and leave the door slightly ajar, allowing the cookies to cool completely inside for at least an hour.
- Once cooled, use a toothpick to dab a tiny bit of melted chocolate onto the ghosts to attach the candy eyes or chocolate chips.
Similar Posts
Keto Coconut Flour Almond Crescent Cookies Healthy
Finding the perfect treat that aligns with a low-carb lifestyle can feel like a challenge, but baking Keto Coconut Flour Almond Crescent Cookies Healthy treats is a simple way to satisfy your cravings. These cookies offer a delicate, nutty flavor and a melt-in-your-mouth texture that rivals traditional holiday baking. By combining the fibrous nature of…
Crispy Spiralized Baked Potatoes Fries
Preparing crispy spiralized baked potatoes fries is a fantastic way to transform humble root vegetables into a visually stunning and deeply satisfying snack. By using a spiralizer to create long, uniform strands, you increase the surface area of the potato, which allows for significantly more crunch in every single bite. These curly, golden-brown treats offer…
Best Vegan Easter Recipe
Finding the best Vegan Easter Recipe often feels like a challenge, but a vibrant, herb-crusted vegetable roast serves as the perfect centerpiece for your spring celebration. This dish combines earthy seasonal produce with bright, zesty flavors that capture the essence of the holiday. By focusing on fresh, whole-food ingredients, you can create a meal that…
Meringue Ghosts
Creating delightful Meringue Ghosts is a fantastic way to bring some seasonal charm into your kitchen. These light, airy treats are essentially crisp, sweetened egg white clouds that melt in your mouth, making them a popular choice for festive gatherings. By whipping simple staples into a stable foam, you can pipe adorable shapes that look…
5 Ingredient Vegan Homemade Nutella
Crafting a decadent 5 Ingredient Vegan Homemade Nutella at home transforms your pantry staples into a rich, velvety treat that rivals any store-bought version. By focusing on high-quality roasted nuts and pure cocoa, you create a sophisticated plant-based spread that is free from palm oil and unnecessary additives. This simple process relies on just a…
Healthy Christmas Cookies
Preparing batches of healthy Christmas cookies allows you to enjoy the festive season without compromising your commitment to nutritious eating. These treats focus on wholesome ingredients like almond flour, maple syrup, and dark chocolate, providing a satisfying flavor profile that rivals traditional sugary alternatives. By choosing natural sweeteners and fiber-rich additions, you can create sweets…